
Install the Bot
This guide explains how you can add the All Contributors bot to your project.
-
AllContributors GitHub 응용 프로그램 설치
Install the GitHub App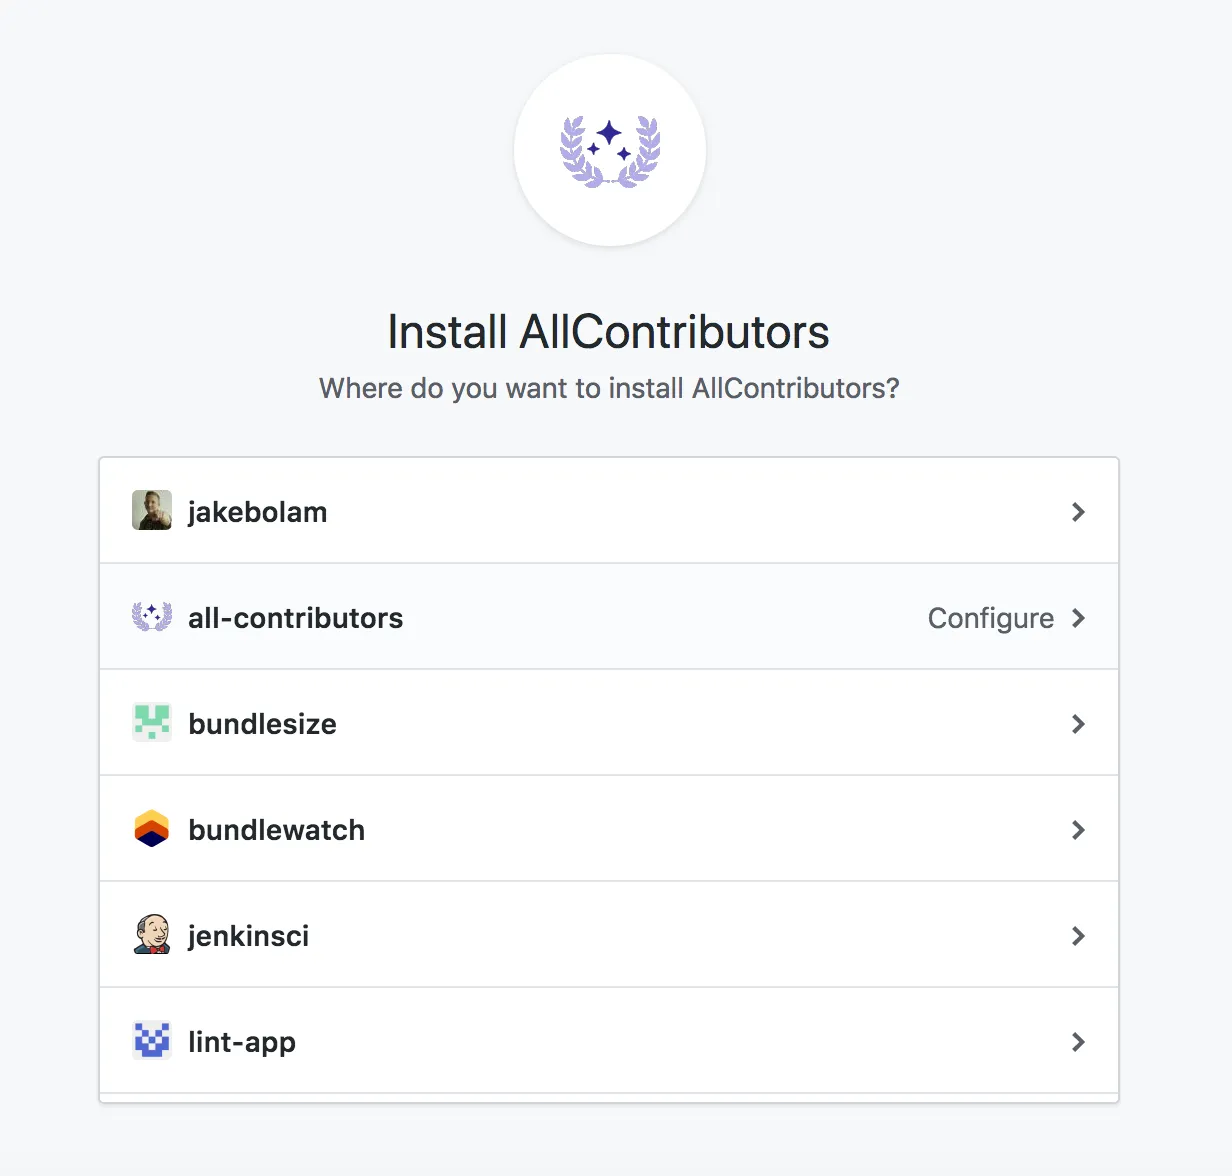
-
레포지토리 구성
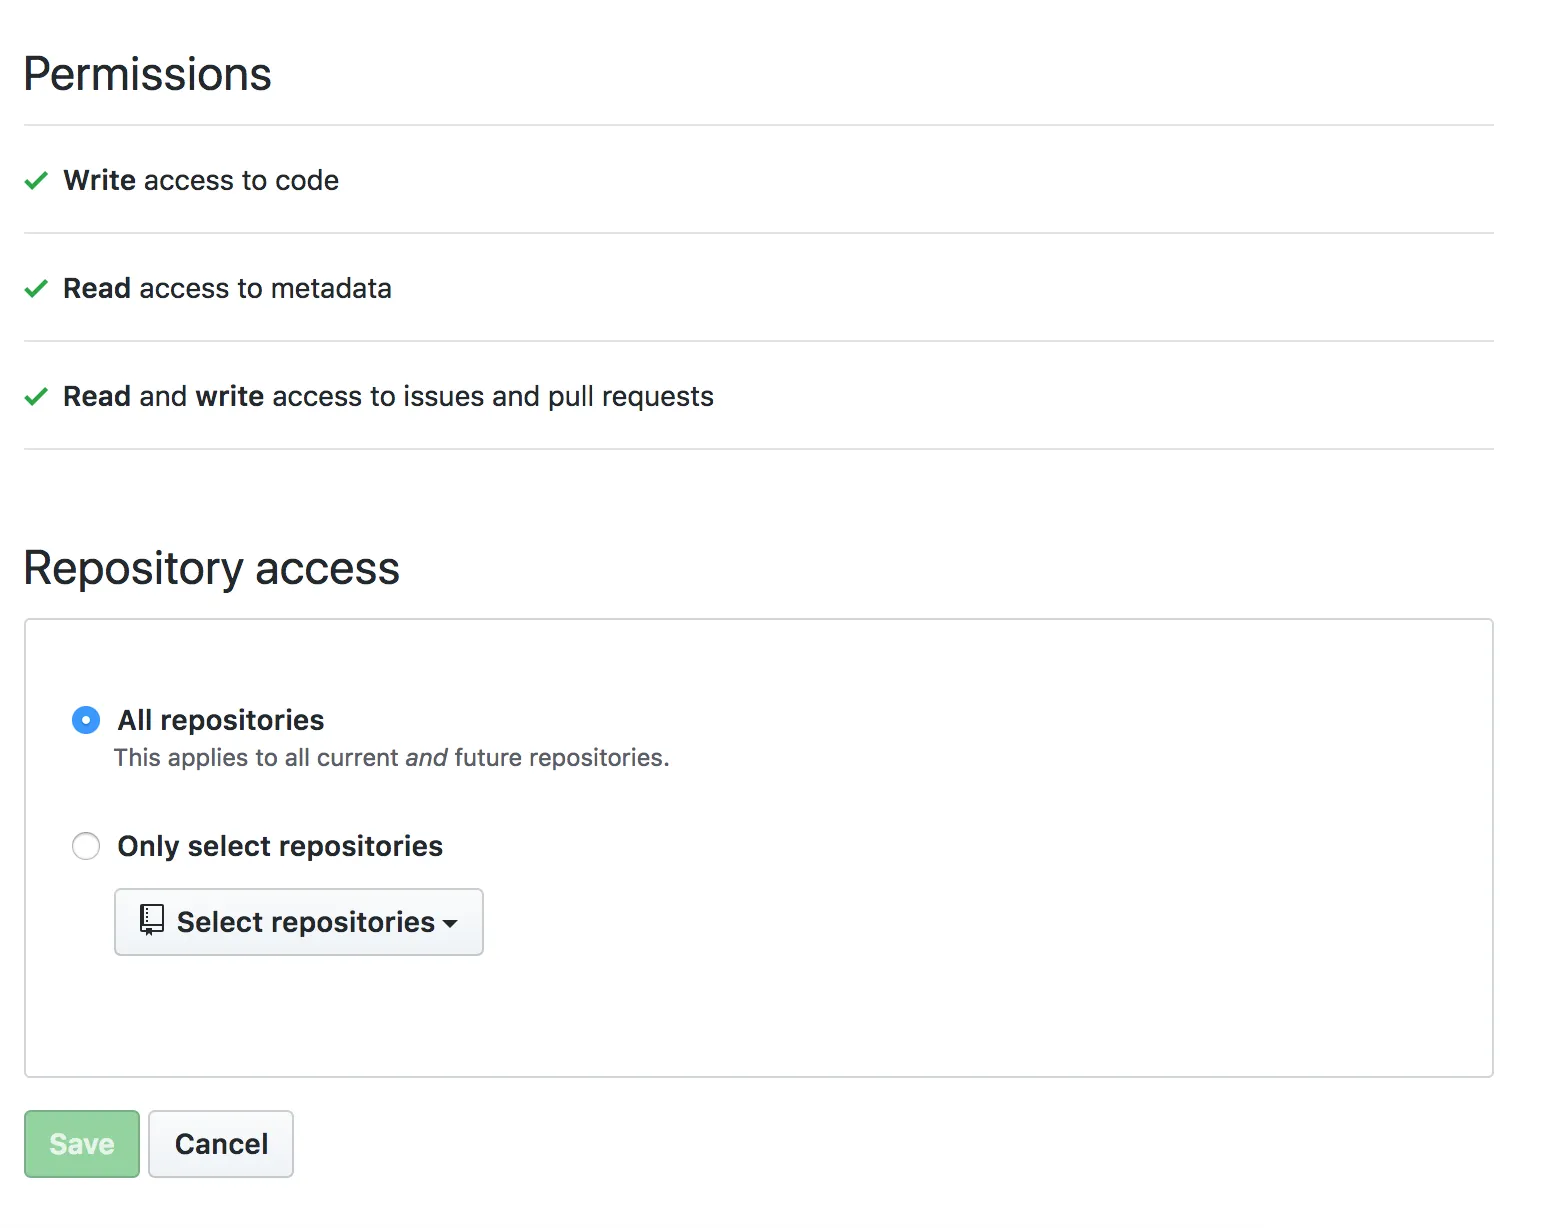
-
Create a
README.mdEnsure you have a
README.mdfile at the root of the project (it can be empty).If you prefer your contributors table in a place other than the
README.md; After merging your first bot PR, you can move your contributors table, seefilesin the bot configuration마크다운에 다음을 추가하세요.
기여자 목록 추가:
README.md ## Contributors<!-- ALL-CONTRIBUTORS-LIST:START - Do not remove or modify this section --><!-- prettier-ignore-start --><!-- markdownlint-disable --><!-- markdownlint-restore --><!-- prettier-ignore-end --><!-- ALL-CONTRIBUTORS-LIST:END -->For the badge use the following, replacing
projectOwnerwith the relevant GitHub username or organization name, andprojectNamewith the relevant the GitHub repo name. Style, color, and other parameters can be customized to your liking — visit shields.io to make a custom badge.README.md [](#contributors)Please create the
.all-contributorsrcfile for the first configuration. 시작하는 데 필요한 필수 정보만 추가해도 괜찮습니다. 봇이 첫 PR에서 기본 설정값을 자동으로 채울 것입니다.> Here is the minimal.all-contributorsrcfile to add in your repo :.all-contributorsrc {"projectName": "<insert the repo's name>","projectOwner": "<insert the repo's owner/orgs>"} -
기여 문서 업데이트
Consider updating your
CONTRIBUTING.mdor similar with steps on how contributors can add themselves. You can even link to the bot usage documentation.