
Install the Bot
This guide explains how you can add the All Contributors bot to your project.
-
Install the AllContributors GitHub App
Install the GitHub App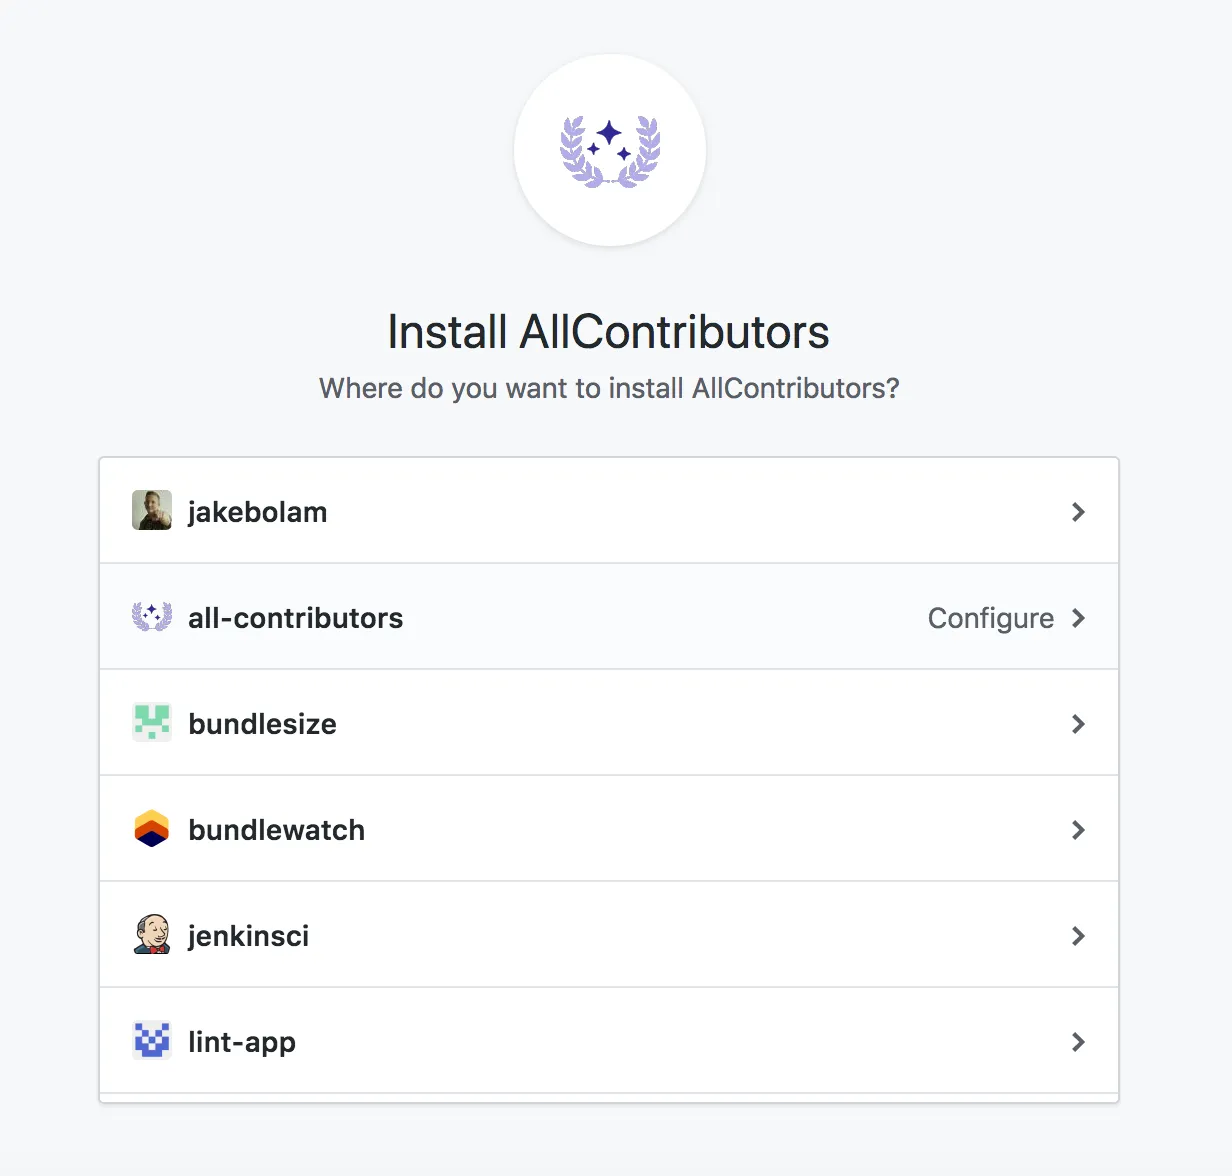
-
Configure your repositories
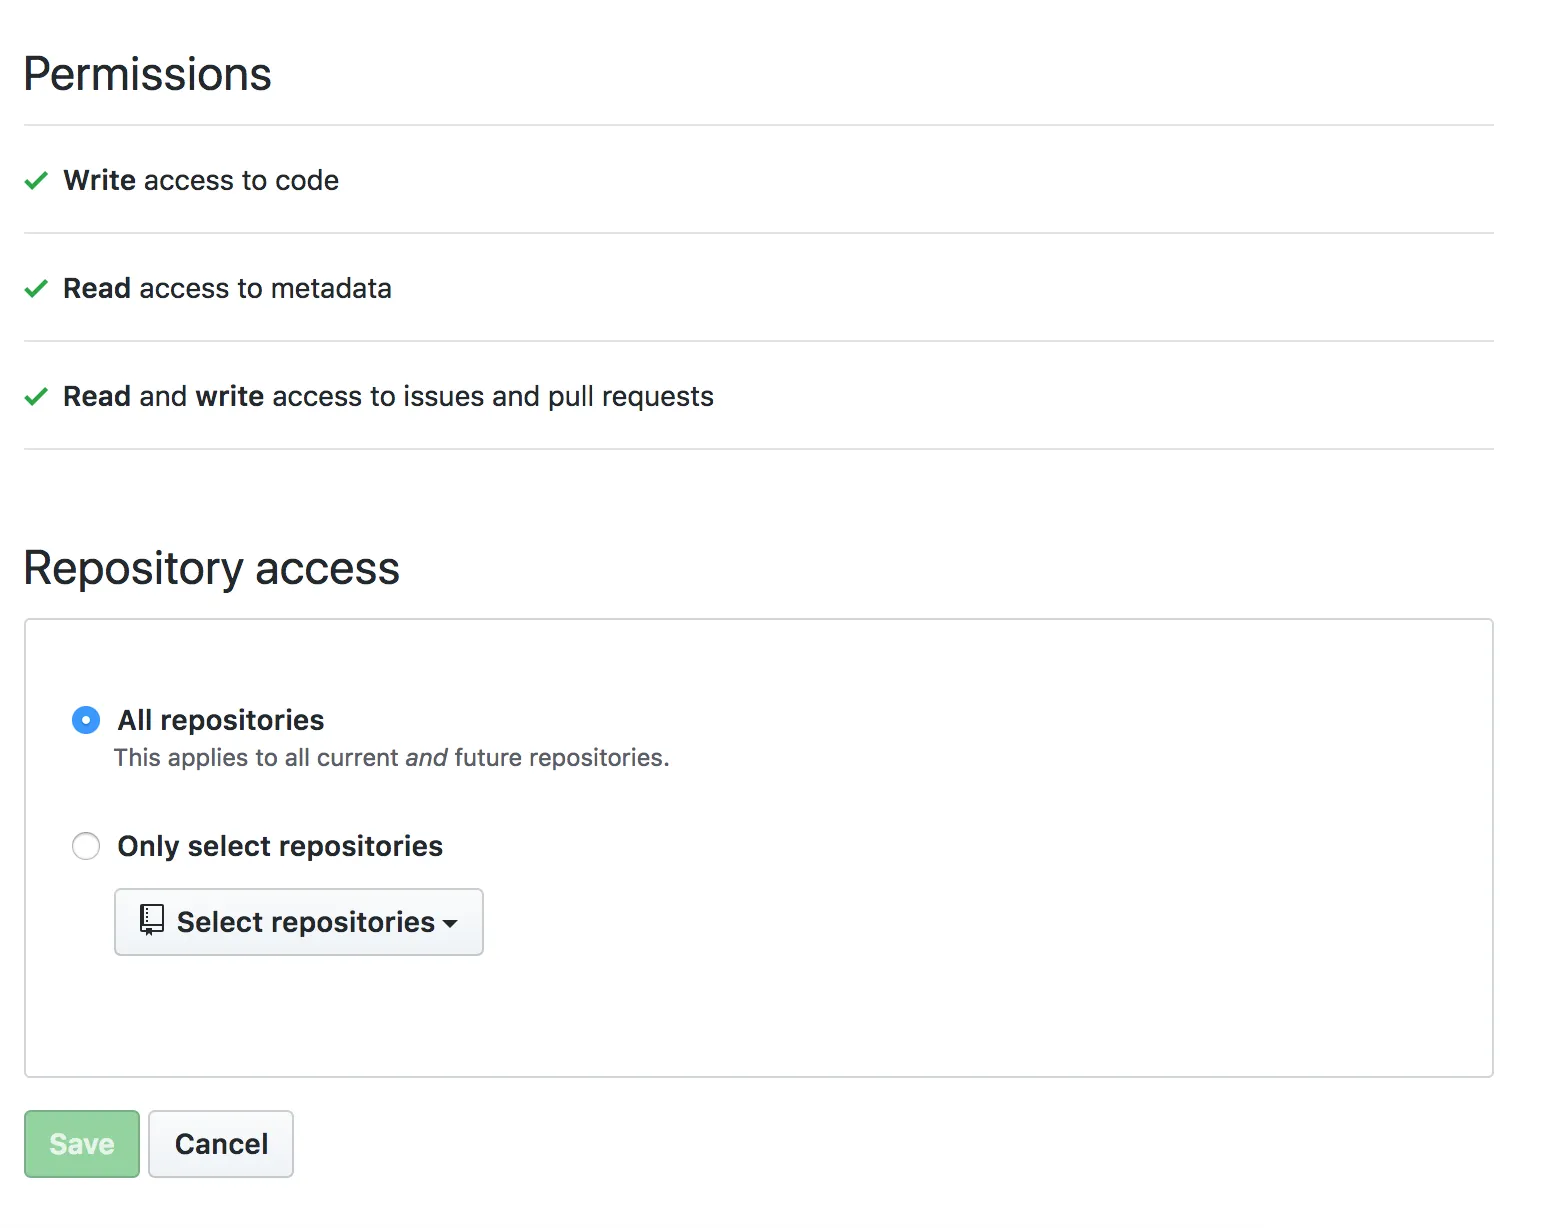
-
Create a
README.mdEnsure you have a
README.mdfile at the root of the project (it can be empty).If you prefer your contributors table in a place other than the
README.md; After merging your first bot PR, you can move your contributors table, seefilesin the bot configurationMake sure to add this in the markdown:
For the list:
README.md ## Contributors<!-- ALL-CONTRIBUTORS-LIST:START - Do not remove or modify this section --><!-- prettier-ignore-start --><!-- markdownlint-disable --><!-- markdownlint-restore --><!-- prettier-ignore-end --><!-- ALL-CONTRIBUTORS-LIST:END -->For the badge use the following, replacing
projectOwnerwith the relevant GitHub username or organization name, andprojectNamewith the relevant GitHub repo name. Style, color, and other parameters can be customized to your liking — visit shields.io to make a custom badge.README.md [](#contributors)Please create the
.all-contributorsrcfile for the first configuration. It can only have the mandatory information in it to begin. The bot will update it automatically with default config in the first PR. Here is the minimal.all-contributorsrcfile to add in your repo :.all-contributorsrc {"projectName": "<insert the repo's name>","projectOwner": "<insert the repo's owner/orgs>"} -
Update your Contributing documentation
Consider updating your
CONTRIBUTING.mdor similar with steps on how contributors can add themselves. You can even link to the bot usage documentation.