Installation de bot
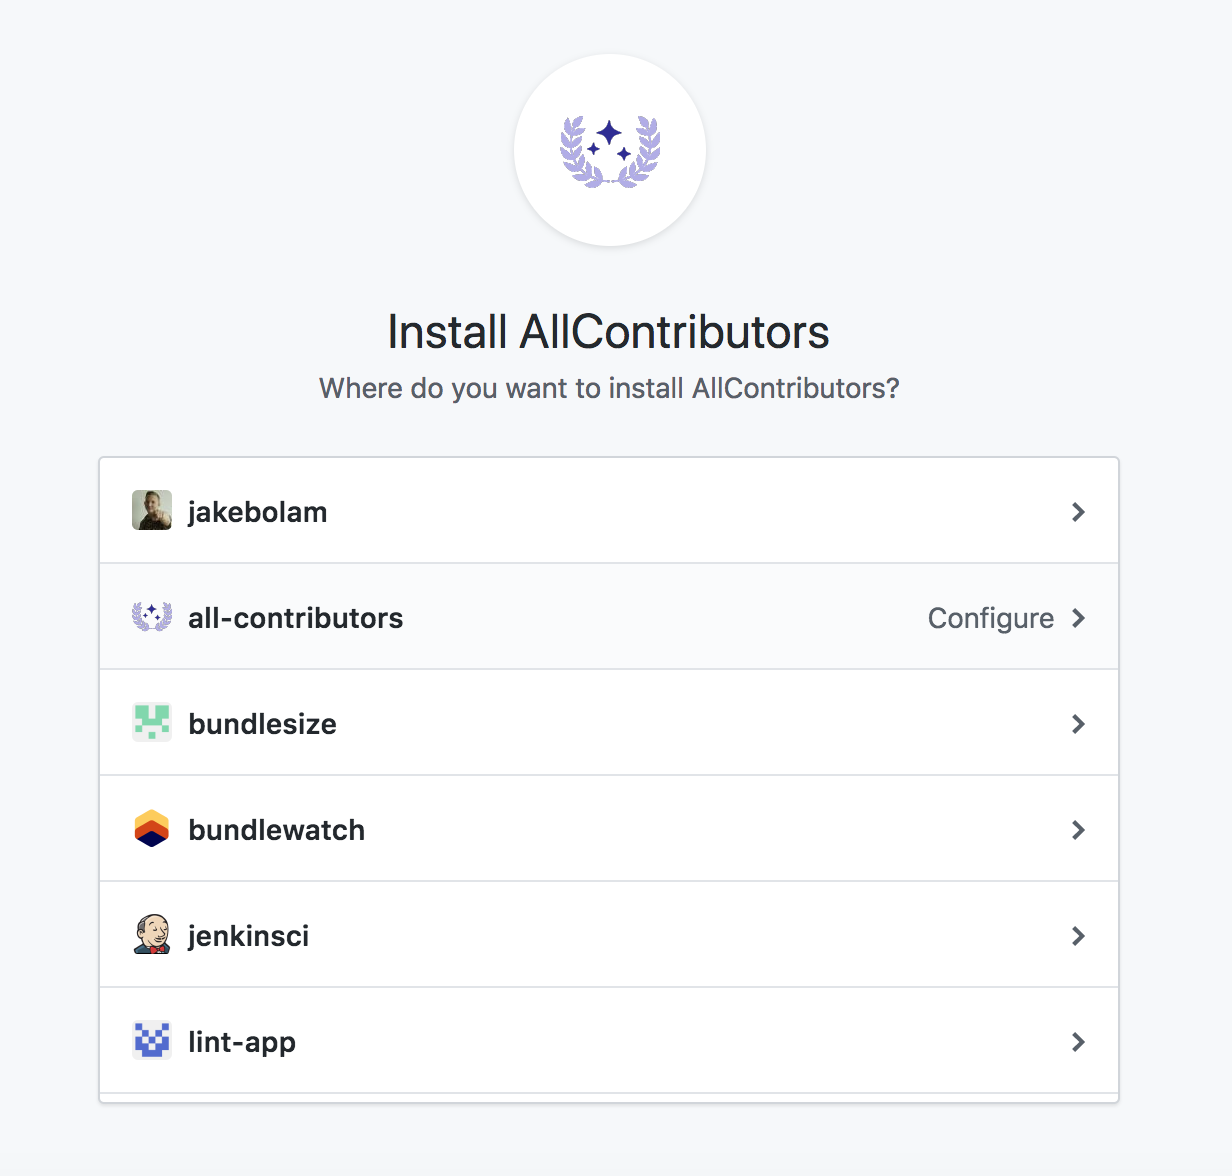
1. Installez l'app GitHub AllContributors
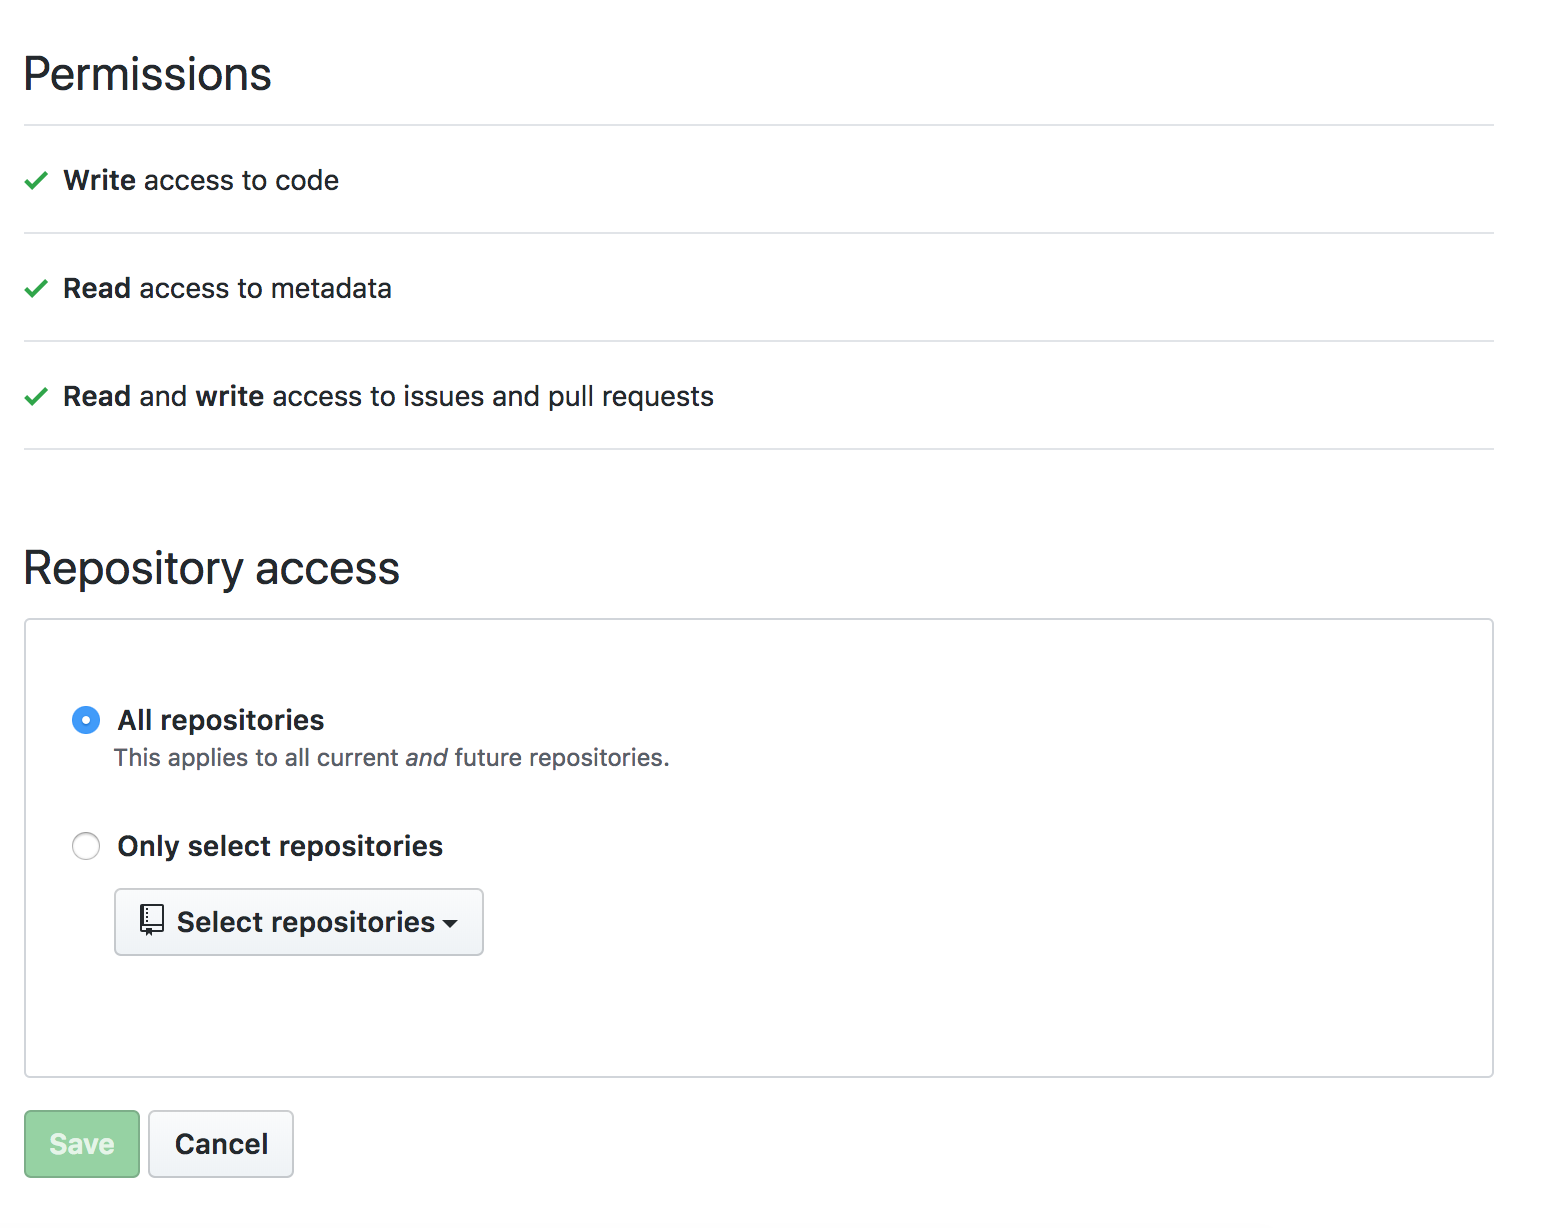
2. Configurer vos répertoires

3. Créer un README.md
Ensure you have a README.md file at the root of the project (it can be empty).
Si vous préférez votre table de contributeurs dans un endroit autre que le README.md; Après la fusion du PR de votre premier bot, vous pouvez déplacer votre table de contributeurs, voir files dans la configuration du bot
Make sure to add this in the markdown:
For the list:
## Contributors

<!-- ALL-CONTRIBUTORS-LIST:START - Do not remove or modify this section -->
<!-- prettier-ignore-start -->
<!-- markdownlint-disable -->

<!-- markdownlint-restore -->
<!-- prettier-ignore-end -->

<!-- ALL-CONTRIBUTORS-LIST:END -->
Note: Extra line is very important in order to make it work properly.
For the badge use the following, replacing projectOwner with the relevant GitHub username or organization name, and projectName with the relevant the GitHub repo name. Style, color, and other parameters can be customized to your liking — see https://shields.io/.
[](#contributors)
Please create the
.all-contributorsrcfile for the first configuration. It can only have the mandatory information in it to begin. The bot will update it automatically with default config in the first PR. Here is the minimal.all-contributorsrcfile to add in your repo :{ "projectName": "<insert the repo's name>", "projectOwner": "<insert the repo's owner/orgs>" }
4. Mettez à jour votre document de Contribution
Considerez mettre à jour votre CONTRIBUTING.md ou similaire avec des étapes sur la façon dont des contributeurs peuvent s’ajouter eux-mêmes. Vous pouvez même lier a ladocumentation d'utilisation du bot.
