Bot安装
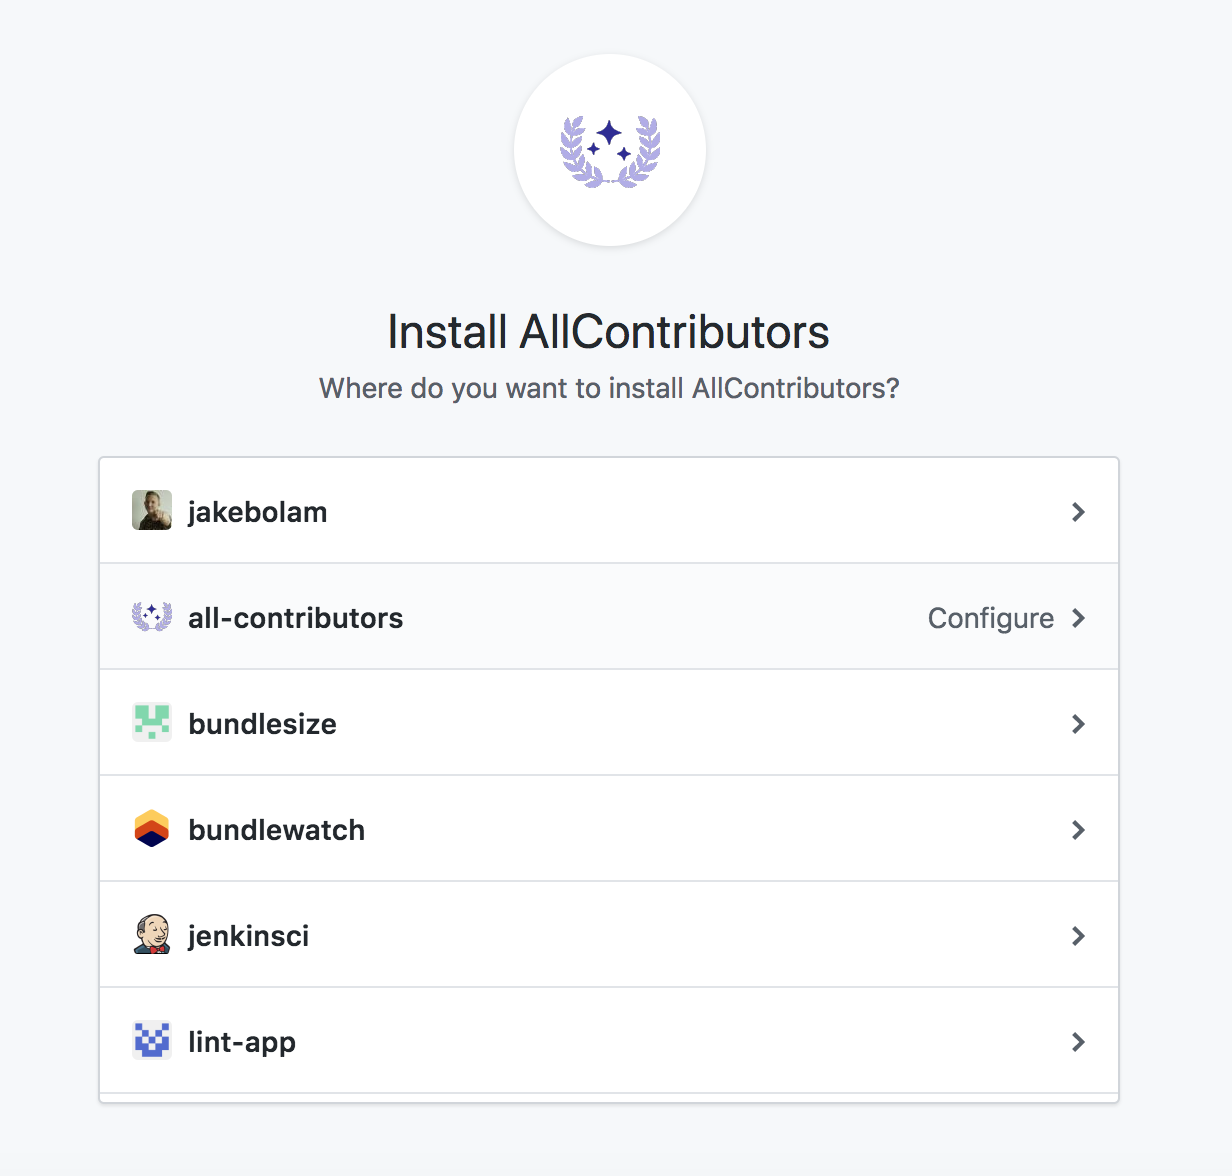
1. 安装AllContributors GitHub应用
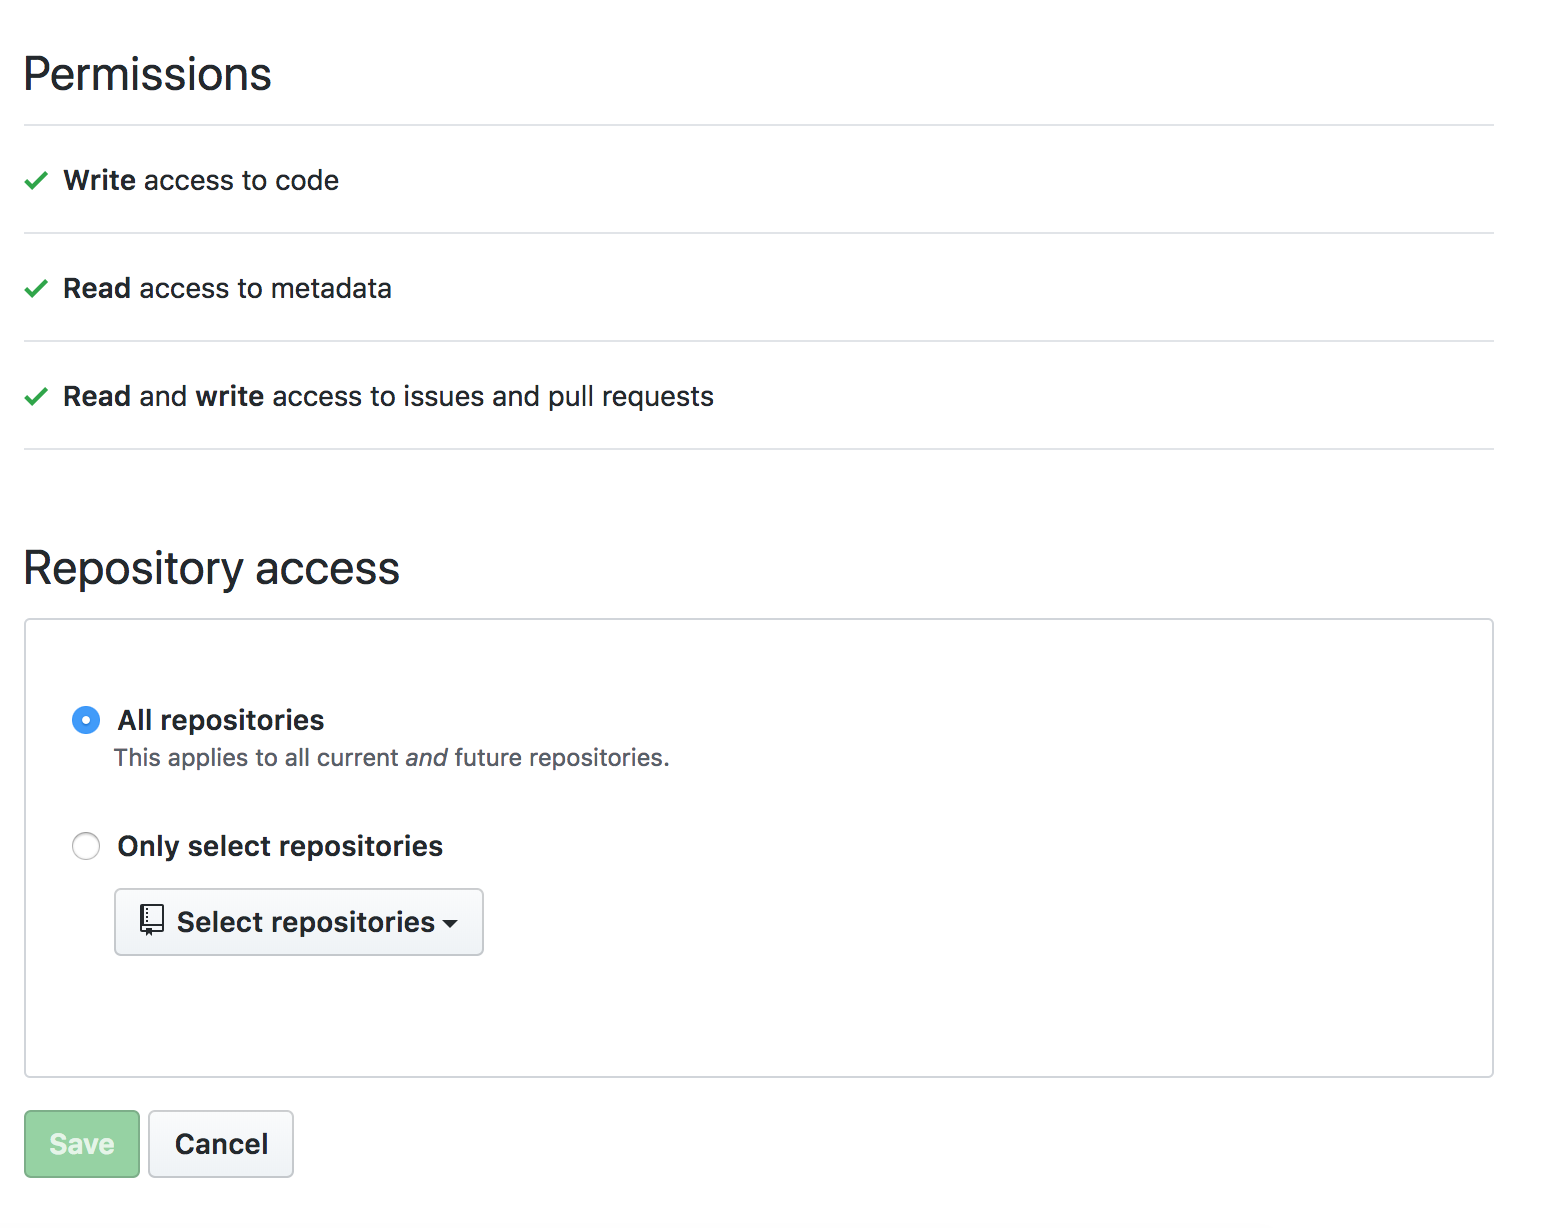
2. 配置你的仓库

3. 创建一个README.md
Ensure you have a README.md file at the root of the project (it can be empty).
如果你更倾向于你的贡献者表在非README.md的地方;在合并你的第一次机器人PR后,你可以移动你的贡献者表,请查看在bot configuration里的files。
Make sure to add this in the markdown:
For the list:
## Contributors

<!-- ALL-CONTRIBUTORS-LIST:START - Do not remove or modify this section -->
<!-- prettier-ignore-start -->
<!-- markdownlint-disable -->

<!-- markdownlint-restore -->
<!-- prettier-ignore-end -->

<!-- ALL-CONTRIBUTORS-LIST:END -->
Note: Extra line is very important in order to make it work properly.
For the badge use the following, replacing projectOwner with the relevant GitHub username or organization name, and projectName with the relevant the GitHub repo name. Style, color, and other parameters can be customized to your liking — see https://shields.io/.
[](#contributors)
Please create the
.all-contributorsrcfile for the first configuration. It can only have the mandatory information in it to begin. The bot will update it automatically with default config in the first PR. Here is the minimal.all-contributorsrcfile to add in your repo :{ "projectName": "<insert the repo's name>", "projectOwner": "<insert the repo's owner/orgs>" }
4. 更新你的贡献者文档
可以考虑更新你的 CONTRIBUTING.md或者类似文件,用来列举贡献者如何添加自己的步骤。 你甚至可以链接到bot usage documentation。
